If you’ve just bought the Aosu Solarcam D1 Classic Kit and are wondering where to begin, you’re not alone. Many users feel excited about setting up their security cameras, yet at the same time, they worry about getting every step right. The good news is that the AOSU SolarCam D1 Classic kit setup process is simple and beginner-friendly, even if you’ve never installed a smart camera before.
In this guide, I’ll walk you through the complete setup with clear and practical steps. Along the way, I’ll also explain how this kit works with devices like the ultra indoorcam p1 pro, video doorbells, and floodlight cameras. That way, instead of guessing or skipping steps, you’ll know exactly what to do from start to finish and feel confident as you go.
What Is the Aosu Solarcam D1 Classic Kit?
It is always good to know what the kit consists of and how it fits into your security requirements before commencing the setup. Aosu Solarcam D1 Classic Kit is constructed as a solar-powered outdoor security system, which is designed to ensure that it is easy to monitor without always charging the battery or requiring additional wiring. The camera is solar powered and thus minimizes the maintenance as well as makes the installation clean and mess-free.
The kit can also be combined with indoor and doorbell cameras, depending on the version that you buy. It is often used by many homeowners with the Ultra IndoorCam P1 Pro to have an extensive coverage of the area, both indoors and outdoors. In other situations, users choose to combine it with the SolarCam D1 Classic Kit Video Doorbell Ultra IndoorCam P1 Pro installation that will enable them to keep track of the entry points and observe what is happening behind closed doors at the same time.
Why Proper Aosu Solarcam D1 Classic Kit Setup Matters
Although the camera is user-friendly, a proper AOSU SolarCam D1 Classic setup is very important. If you rush through the process or place the camera incorrectly, you may face issues like weak signals, missed alerts, or poor video quality.
On the other hand, when you take a little time to set it up correctly:
- The camera connects smoothly to WiFi
- Solar charging works efficiently
- Motion alerts are accurate
- Video quality stays clear and stable
Therefore, following each step carefully saves time and frustration later.
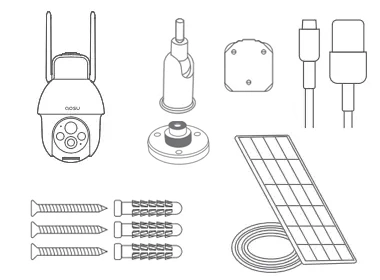
Things You Need Before Aosu SolarCam D1 Classic Kit Installation
Before you begin the AOSU SolarCam D1 Classic kit installation, it helps to gather everything you’ll need ahead of time. Doing this first keeps the setup smooth and avoids unnecessary pauses later.
You’ll want to have the following ready:
- The Aosu Solarcam D1 Classic camera
- The solar panel (included in the kit)
- A stable WiFi connection
- A smartphone with the Aosu app already installed
- Mounting screws and basic tools
- A sunny outdoor location
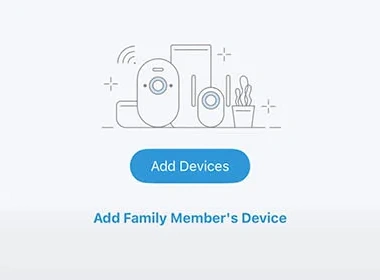
Also, if you plan to set up indoor devices like the Ultra IndoorCam P1 Pro, keep them close by. This way, you can add all your cameras in one go and manage everything easily from the app.
Choosing the Right Location for the Camera
To begin with, where you place the camera makes a big difference in how well it works. Because this is a solar-powered camera, getting enough sunlight is especially important.
When picking a spot, look for a location that:
- Gets direct sunlight for several hours each day, so the battery stays charged
- Face the area you want to monitor, such as an entryway or open space
- Stays within WiFi range to avoid connection problems
- Is high enough to prevent tampering while still capturing a clear view
For many people, the best place is above a front door, near the garage, or overlooking a backyard entrance. Additionally, if you’re using a doorbell camera combo like the SolarCam D1 Classic Kit Video Doorbell Ultra Floodlight Cam Pro, make sure every device in the setup receives strong and stable WiFi coverage.
Aosu Solarcam D1 Classic Kit Setup: Step-by-Step
Now let’s move on to the actual AOSU SolarCam D1 Classic Kit setup. Follow these steps in order for the best results.
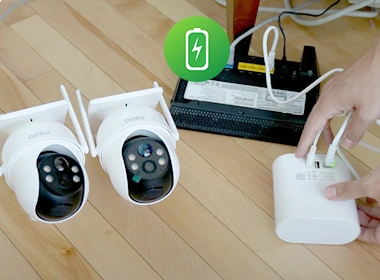
Step 1: Charge the Camera Before Installation
Although the camera is solar-powered, it’s a good idea to fully charge it before mounting. This ensures the setup process doesn’t stop halfway.
So, plug the camera into a power source and let it charge until full. Meanwhile, you can prepare the mounting area.
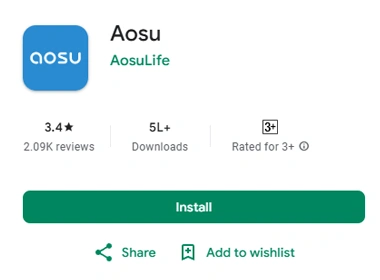
Step 2: Install the Aosu App
Then you should download and install the Aosu app on your smartphone. After the installation, open the app and create an account or log in.
The app will also take you through the AOSU SolarCam D1 Classic installation, and it will be easy to use by a beginner. When you also add the indoor devices, such as the SolarCam D1 Classic Kit IndoorCam P1 Pro, then you will have control of everything in the same app.
Step 3: Add the Solarcam D1 Classic to the App
Now, tap the “Add Device” option in the app. Select the Solarcam D1 Classic from the list.
At this point:
- Turn on the camera
- Follow the on-screen instructions
- Connect the camera to your WiFi network
Make sure you enter the WiFi password carefully. A small typing mistake can cause connection issues.
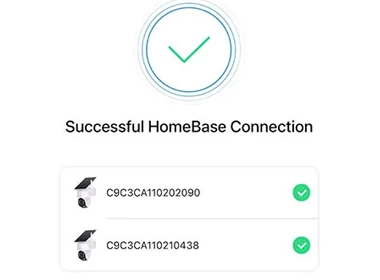
Step 4: Sync and Test the Camera
It will take approximately one-two minutes for the camera to sync to the app after connecting to WiFi with patience; once synced- Review the live video feed
- Walk until you enter the frame of the camera to ensure that motion detection is functioning
- Verify that you received notifications on your smartphone
Once everything has been confirmed to be working correctly, you can mount the camera to its final location.

Step 5: Mount the Camera and Solar Panel
It is now time to start the physical part of the AOSU SolarCam D1 Classic Kit installation.
Use the given screws to mount the camera. Then, place the solar panel where it will get maximum exposure to the sun’s rays. Ensure that the angle of the sun is directly faced by the panel.
After mounting, verify the live view through the app. You can adjust the angle, if necessary.
Setting Up Additional Devices (Optional)
The average user isn’t satisfied with the standard camera setup and instead creates an entire monitoring system. For example:
When someone uses an ultra indoorcam p1 pro to help them keep track of their indoor space.
An ultra indoorcam p1 pro can work with a video doorbell SolarCam D1 Classic Kit to extend security to your front door.
By adding a floodlight cam pro to the video doorbell SolarCam D1 Classic Kit and an ultra indoorcam p1 pro increases nighttime visibility.
What is great is that all devices can be managed from the same app, which makes it easier to manage.
Adjusting Camera Settings for Best Performance
Once setup is complete, spend a few minutes adjusting the settings.
You can:
- Set motion detection sensitivity
- Customize alert times
- Adjust video quality
- Create activity zones
These small changes make a big difference in daily use, especially if you have multiple devices like the solarcam d1 classic kit indoorcam p1 pro.
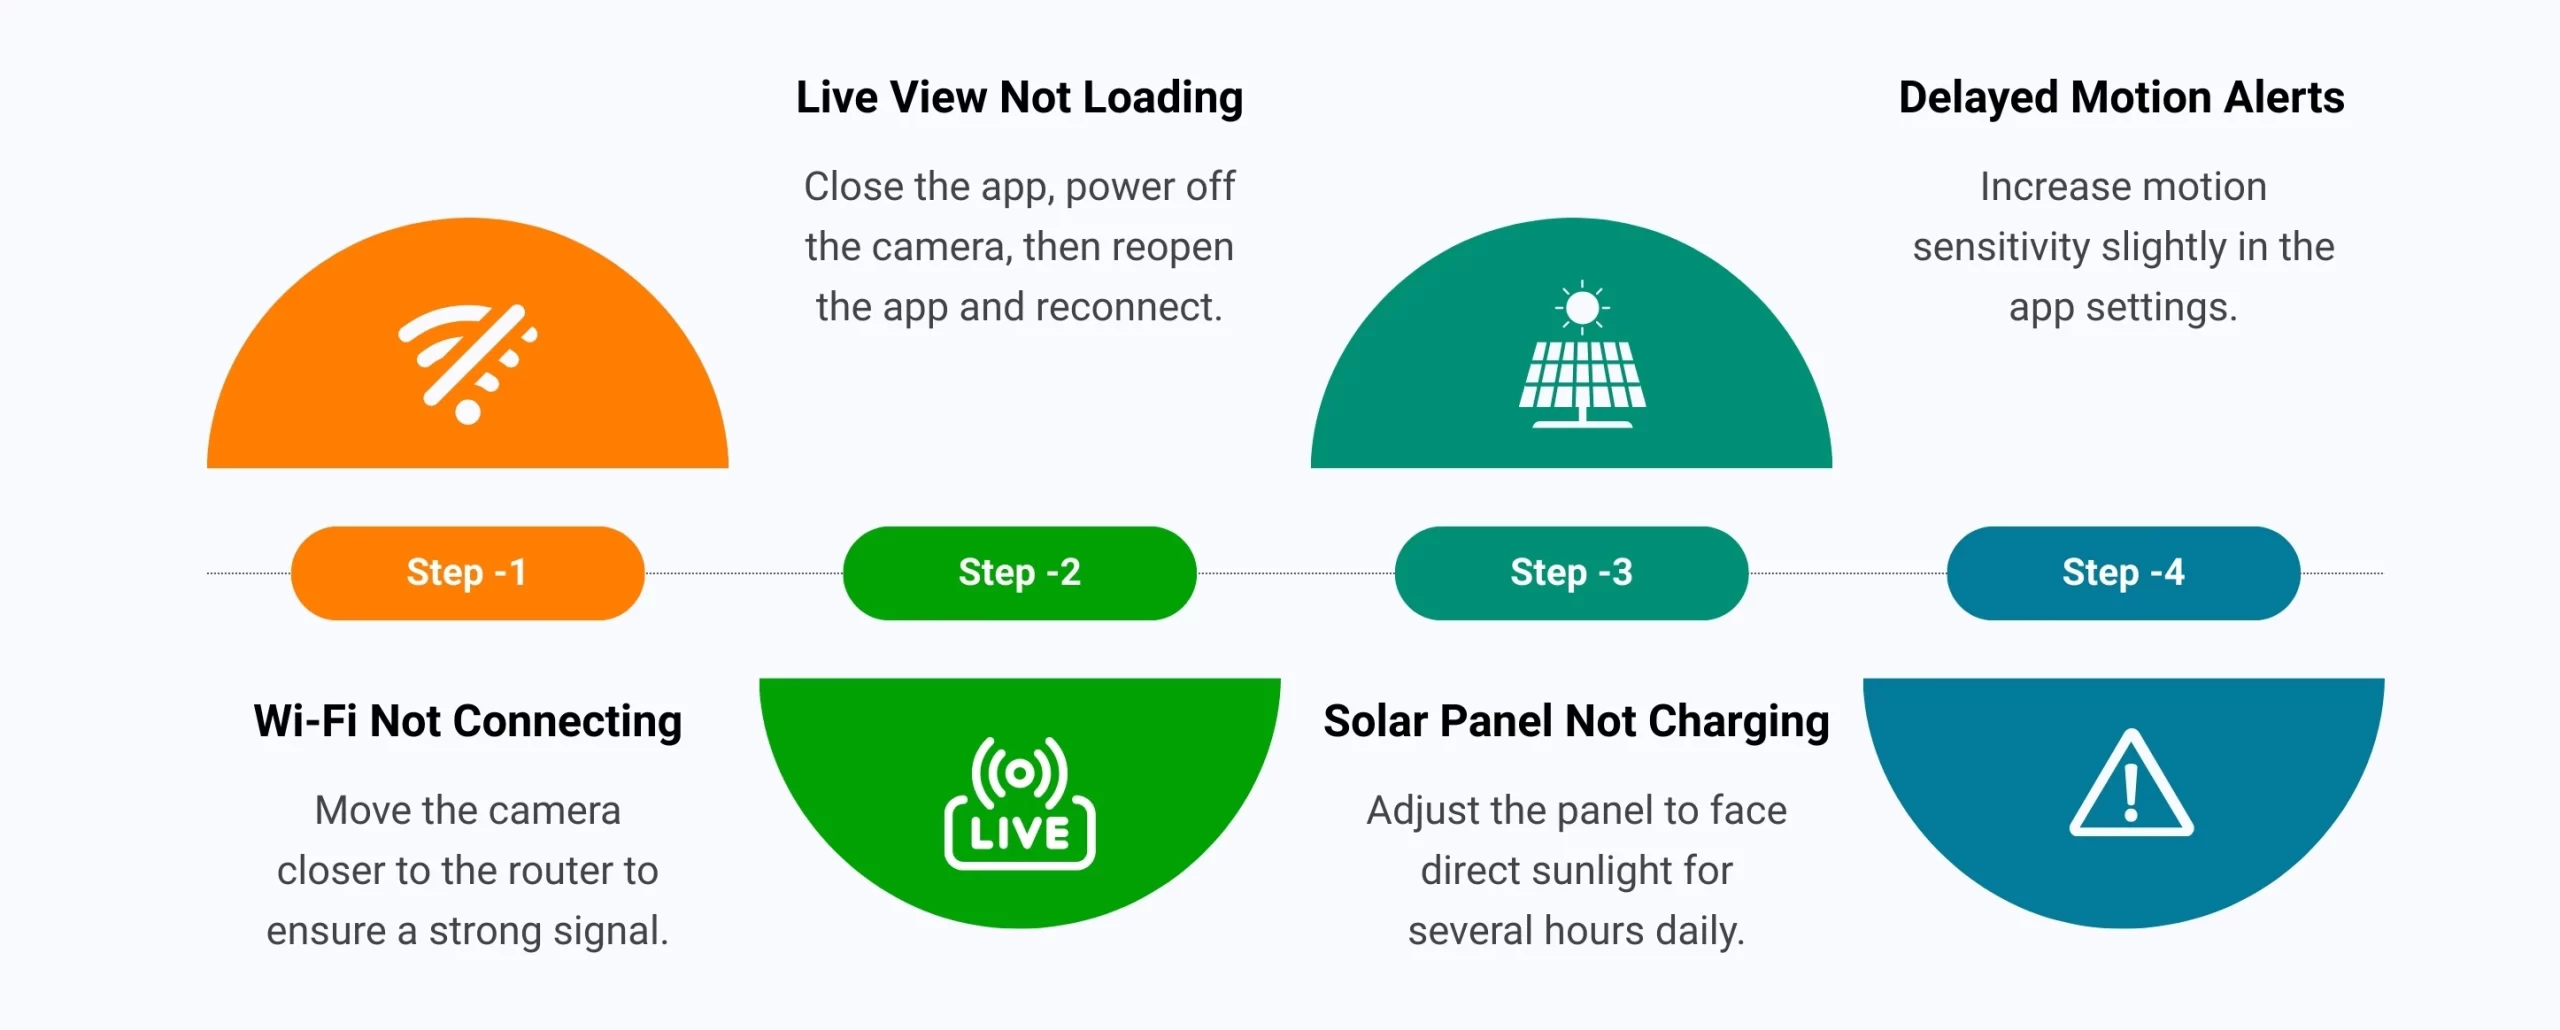
Common Setup Issues and Simple Fixes
Occasionally, a couple of small glitches may appear when following the installation process. In any case, none of such problems are uncommon and can easily be fixed once users are aware of what needs to be checked.
- Camera is not connecting to Wi-Fi: This is normally caused by the distance between the camera and the Wi-Fi router. You can relocate it closer to connect.
- Direct live view: In this situation, you should close the application, turn off the camera, and then reopen the application afterwards. In many cases, the live view will reconnect immediately.
- Solar not charging: If the battery level is not increasing, the solar panel may not be getting enough sunlight. Adjust its position so it faces direct sunlight for several hours a day.
- Delayed alerts: When alerts arrive late, the motion sensitivity is often set too low. Increasing it slightly usually fixes the issue.
In most situations, simply going back through the setup steps and double-checking each one helps solve the problem quickly.
Tips to Keep Your System Working Smoothly
To avoid issues later, follow these tips:
- Clean the solar panel occasionally
- Check app updates regularly
- Test motion alerts once a month
- Re-adjust camera angles if seasons change
By doing this, your AOSU SolarCam D1 Classic kit setup will continue to work reliably.
Final Thoughts
All Smart cameras can seem difficult to set up, but configuring the AOSU SolarCam D1 Classic Kit can be stress-free by taking the appropriate steps to do so accurately. The AOSU SolarCam D1 kit works alone, OR in conjunction with other products, such as the Ultra IndoorCam P1 Pro, the AOSU Floodlight Cam, and the AOSU Video Doorbell, to provide you with an adaptable solution for protecting your home/family’s needs.
When you follow this guide and don’t take it too quickly, you will receive a clearer video feed, timely notifications, and an overall sense of security (NO wired connections or frequent recharging).
FAQs
A: The installation process is approximately 20 to 30 minutes long to the majority of individuals, particularly when the place where the mount is to be placed is ready.
A: Oh, yes, I think you still have some time using the camera. Nevertheless, in order to have long-term and consistent operation, regular sunlight will be required to charge the battery.
A: Absolutely. Indoor devices such as the Ultra Indoor Cam P1 Pro can be added to your system at any time by only updating the app without having to reconfigure your system.
A: Yes, Aosu app permits one account to manage several Aosu cameras, and it is easier to monitor them.
A: No, the application is easy to use as it takes you through each step.