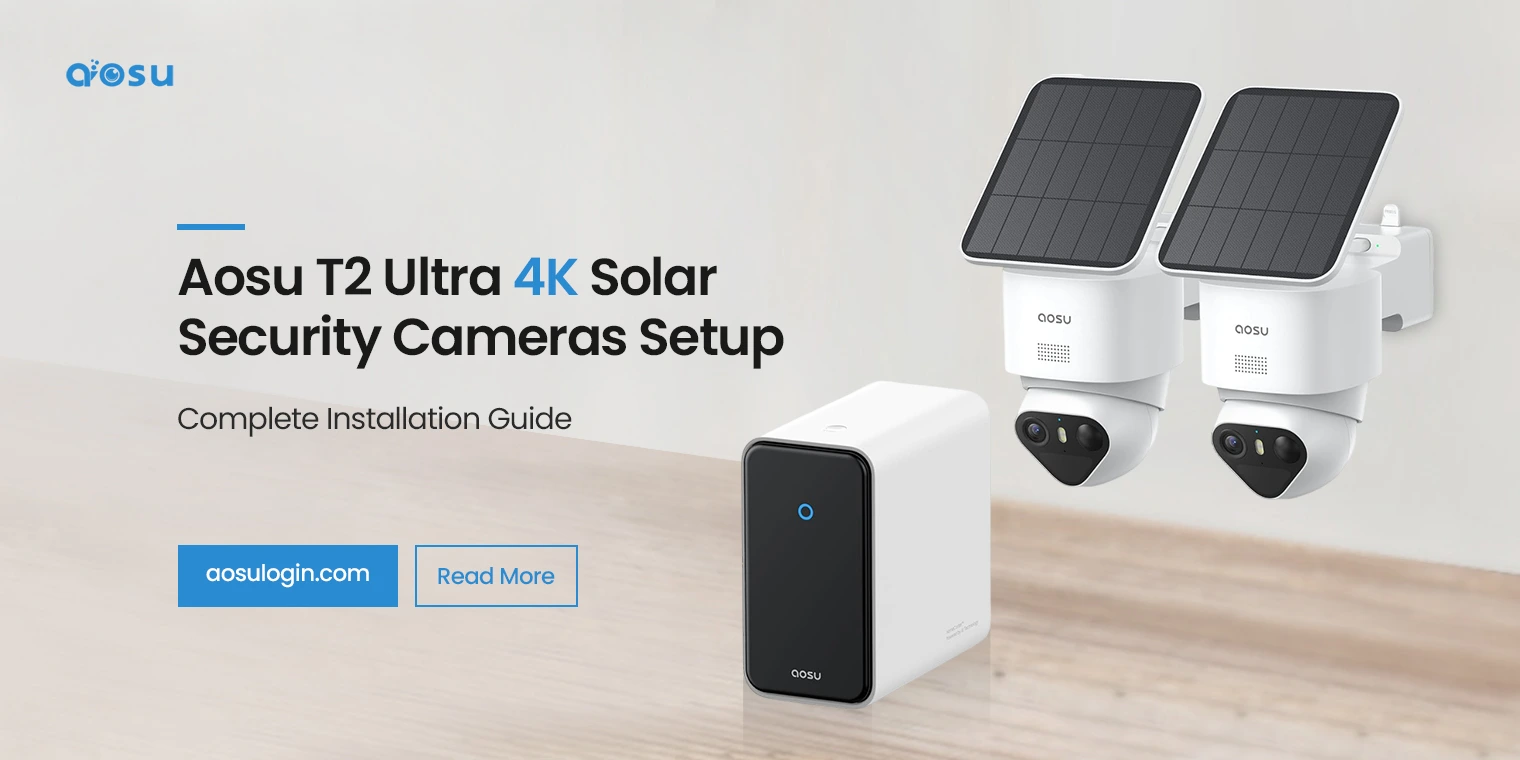
Home security can feel like a different world when it occurs quietly in the background. There are no wires crossing the walls. There’s no constant need to charge the products. There’s just smooth video streaming and reliable notifications. This is exactly why most consumers decide to use the aosu T2 Ultra 4K Solar Security Cameras Setup at their homes.
Although the system is quite advanced, the process of setting it up is not so complex. With the correct ordering and a lot of patience, the procedure goes smoothly without a hitch. This tutorial is a step-by-step procedure on how to begin the project and how not to go wrong while accomplishing the setup process.
What Is the Aosu T2 Ultra 4K Solar Security Camera System?
The AOSU T2 Ultra 4K Solar Security Camera System is a wireless outdoors security camera system that operates through solar power. This system records in crisp 4K quality and has the capability to store files locally in the base station. The major advantage of this system being solar-powered is that there are no periodic changes of batteries required.
In many instances, the users begin their process by using the aosu T2 Ultra 2-Cam Kit, but others add this on afterwards. In any case, the process becomes a whole unit.
The system is also referred to by the name:
- SolarCam T2 Ultra System
- SolarCam T2 Ultra System - aosu
Nonetheless, the system installation process will remain unchanged.
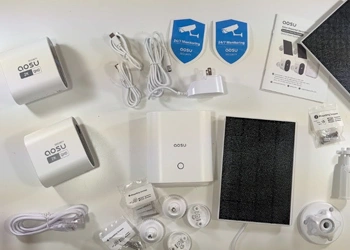
What to Prepare Before Setup
Before starting the aosu T2 Ultra 4K Solar Security Cameras Setup, it helps to gather everything first. Doing this early prevents pauses later.
You will need:
- Aosu T2 Ultra cameras
- Base station from the SolarCam T2 Ultra System
- Power cable for the base station
- Stable Wi-Fi connection
- Smartphone or tablet
- Mounting screws and brackets
It also helps to decide camera locations in advance. Since this is an outdoor use aosu t2 ultra 4k solar security cameras setup, sunlight exposure matters.
Connecting the Aosu T2 Ultra Cameras
First, locate the best place for the base station in terms of proximity to the router. Then, power the device and connect it to the router using an Ethernet cable. Finally, let the light stabilize.
This is significant because all the cameras are connected to the base station. Without that connection, it will not be possible for the wireless aosu T2 Ultra 2-Cam Kit 4k solar security cameras to work.
Aosu T2 Ultra Setup With Wi-Fi
After the cameras are paired, the next step is network connection. The aosu t2 ultra 4k solar security cameras setup with wi-fi ensures remote access and notifications.
Select your Wi-Fi network and enter the password carefully. A stable connection improves video quality and reduces delays. Once connected, the system syncs automatically.
If the Wi-Fi signal is weak, consider moving the base station closer to the router. This small adjustment often improves performance.
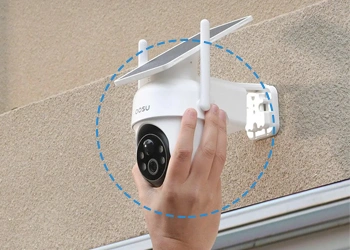
Mounting the Cameras Outdoors
Now it is time for physical placement. Because this is an outdoor use aosu t2 ultra 4k solar security cameras setup, placement affects both power and coverage.
Mount the cameras:
- Facing entry points or walkways
- At a height that avoids tampering
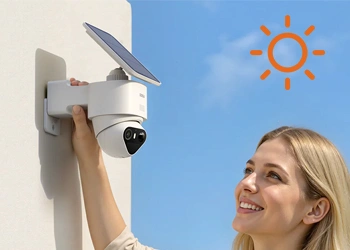
- In areas with regular sunlight
Avoid placing cameras under deep shade. Although the solar panel is efficient, consistent sunlight helps maintain power.
Adjusting Camera Angles and Settings
After completing the wireless aosu t2 ultra 4k solar security cameras setup, verify the live feed. Use the angle to adjust the field of view until it captures the area of interest. Even small changes will produce major results.
Moving forward, modify motion detection notifications and alerts. This ensures that there are fewer false notifications but crucial ones remain enabled.
These adjustments finalize the hands-on part of the aosu T2 Ultra 4K Solar Security Cameras Setup.
Understanding Local Storage and Privacy
One major benefit of the SolarCam T2 Ultra System – aosu is local storage. Video footage is stored on the base station rather than the cloud.
This improves privacy and avoids monthly fees. It also keeps footage accessible even if the internet connection drops temporarily.
Common Setup Issues and Solutions
Sometimes, small issues appear during setup. However, most are easy to fix.
If a camera does not connect:
- Move it closer to the base station
- Restart the base station
- Retry pairing
If video quality is low:
- Check Wi-Fi signal strength
- Adjust camera angle
- Reduce distance from the base station
These steps usually resolve most problems with the AOSU T2 Ultra 4K Solar Security Camera System.
Maintenance Tips for Long-Term Performance
To keep the system working well:
- Clean solar panels occasionally
- Check firmware updates
- Review motion zones every few months
These small actions help maintain reliability after the wireless aosu t2 ultra 4k solar security cameras setup is complete.
Why the Aosu T2 Ultra System Is Worth It
The SolarCam T2 Ultra System integrates solar power, wireless design, and high-resolution video. Consequently, it will work for users who need powerful security but avoid messing with complicated wiring.
Once the AOSU T2 Ultra 4K Solar Security Cameras Setup with Wi-Fi is complete, the system works behind the scenes, day and night, giving you complete peace of mind.
Final Thoughts
Completing the aosu T2 Ultra 4K Solar Security Cameras Setup is easier than it first appears. By following the steps in order, preparing locations in advance, and ensuring a stable network, the setup process stays smooth.
Whether you choose the aosu T2 Ultra 2-Cam Kit or expand later, the AOSU T2 Ultra 4K Solar Security Camera System delivers reliable outdoor protection. With proper placement and simple maintenance, it continues to perform well for years to come.